


It all started with a blog post on how to Upgrade Your Walls With This Trendy Multi-dimensional Look We're Seeing Everywhere.
Apparently Homies readers, and the internet as a whole, are obsessed with the look of a wood slat wall. It's the #1 blog post on the site, getting 7,100 views a month. I realized, it might be time for me to test out just how easy this DIY Wood Slat Wall really is. There were no tears, but my ego was definitely bruised by the end of it. I am not the DIY girl I thought I was. Here's how it went:
Wood Slats
The first thing we needed to determine was just how many pieces of wood slats we needed to create the wall. There are two decisions you need to make in order to determine this:
- How wide do you want the wood slat?
- How much space do you want between each piece of wood?
I had already found the piece of wood that we wanted to use based on another blogs recommendation, so that immediately told us how wide we wanted them. We found the 1x2 inch x 8 foot long Select Pine Board at Home Depot for $5.95 each. (HINT: The sticker on the shelf will say 1x2x8, but the actual boards will have sticker on them saying .75 x 1.5). We found this out the hard way since we had to go back for more wood. Apparently this is common with wood but definitely a pain in the butt.

Since I know $5.95 a piece is a hefty sticker price, I want to preface that you can do a wood slat wall on the cheaper end by buying a very large piece of wood and cutting yourself, but only if you have the proper tools for cutting it. We didn't have a table saw to cut the wood and had to buy pre-made. Keep in mind, you will need a saw to cut out any outlets or light switches you may have in the wall, unless you can ask an employee in the wood cutting station to cut those few pieces for you. I believe they allow eight cuts for free if you go find the cutting station in the back of Home Depot or Lowes.
OK, back to the board we chose. The Select Pine board is great because they are a higher quality of wood with no defects, and straight as an arrow, which is important when making a feature wall. It just so happened that our ceilings were exactly 8 feet as well, which meant no trimming any pieces either.
We decided to leave a .75 inch gap between each of the boards, and then measured the wall to determine how many we would need to fill it. In retrospect, I wish we would have done a .5 but that would have meant buying MORE boards, and MORE staining, which I definitely DID NOT WANT. You'll understand more on this later.
Staining
The stain that we chose was Varathane Premium in Golden Oak. You can buy it here on Amazon or at your local home improvement store. We had a couple of folding saw horses from previous projects and spaced them out so that we could set the wood on top for easier staining. I decided to stain eight boards at a time so that I could have space between each for drying and cleaning up drips. The first mistake I made was thinking these little staining sponges were going to be easier to use and cleaner than a brush. Boy was I wrong.

The amount of stain that one part of the sponge soaks up and dispenses varies from side to side and while the first coat didn't look all that bad, the second coat of stain was a sticky and drippy mess. I ended up in a constant state of flipping the boards on all sides to clean up the drips and the boards looked very uneven when they were done. My husband said "oh they look fine" when he saw them laying on the ground the night prior to installation. However the next day, he had to literally SAND THEM all down and we re-started the staining process over with a brush.
Painting the background wall
Some wood slats walls you see online have the wall behind painted a darker color to create more depth and a bigger illusion of a shadow from the wood slats. We DID NOT do that, and I'm kicking myself now for deciding not to. I even bought the damn paint can and had all the intentions of doing it. But given all the hiccups with staining and the fact that I had to go to three different home depots around town to get the more wood slats (all due to their inconsistent stickers), I gave up and we just installed the wall, with no paint. I would highly suggest painting yours if you have the time and its in budget. Especially if you are leaving a larger space between the wood slats.
Installing
Once the wood was dry again, we went to work installing. We started in one corner and worked our way to the other, using the .75 side of the wood slat as a divider for each piece so that they were all spaced evenly apart. We then used an nail gun to nail the wood to the wall in three places, starting with the middle nail. There were a few places that we had to trim the wood so we could still access our outlets and light switches. Our headboard hides all of them, so we weren't too concerned with the way it looked. For example, we could have just trimmed half of the one wood slat so that we didn't have space on the left side of the outlet.

For trimming the wood, we just used a Miter Saw but like I mentioned earlier, if you plan it out right, you can have someone at Home Depot make the few cuts you need so you dont need to invest in one.
Timing
The time to complete from start to finish was 2 days only because of the staining in batches due to my work station size and dry time and then needing to re-do them entirely the next day. If you start early enough, you can probably finish the entire thing in one day and still add in painting the background of the wall.
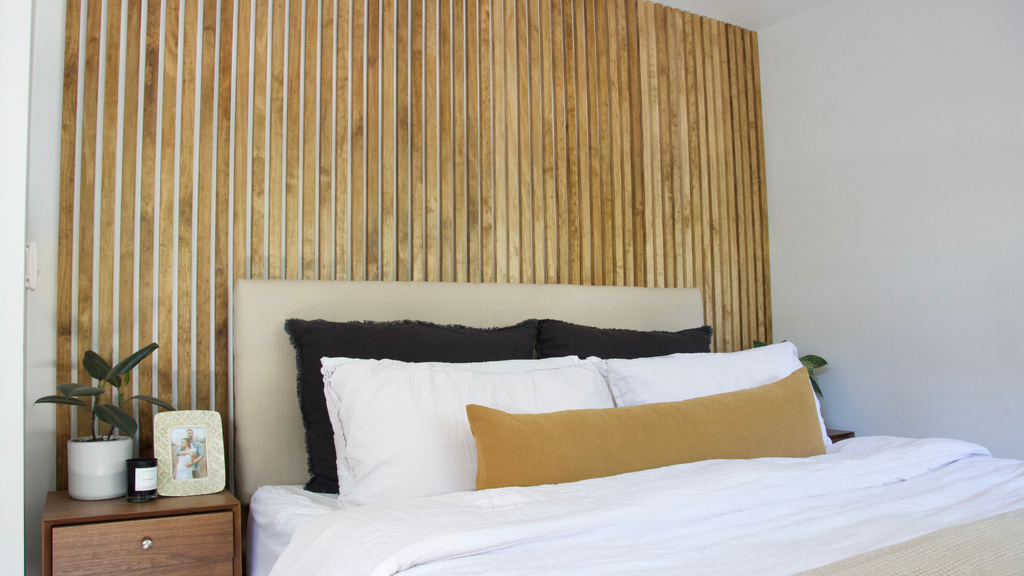
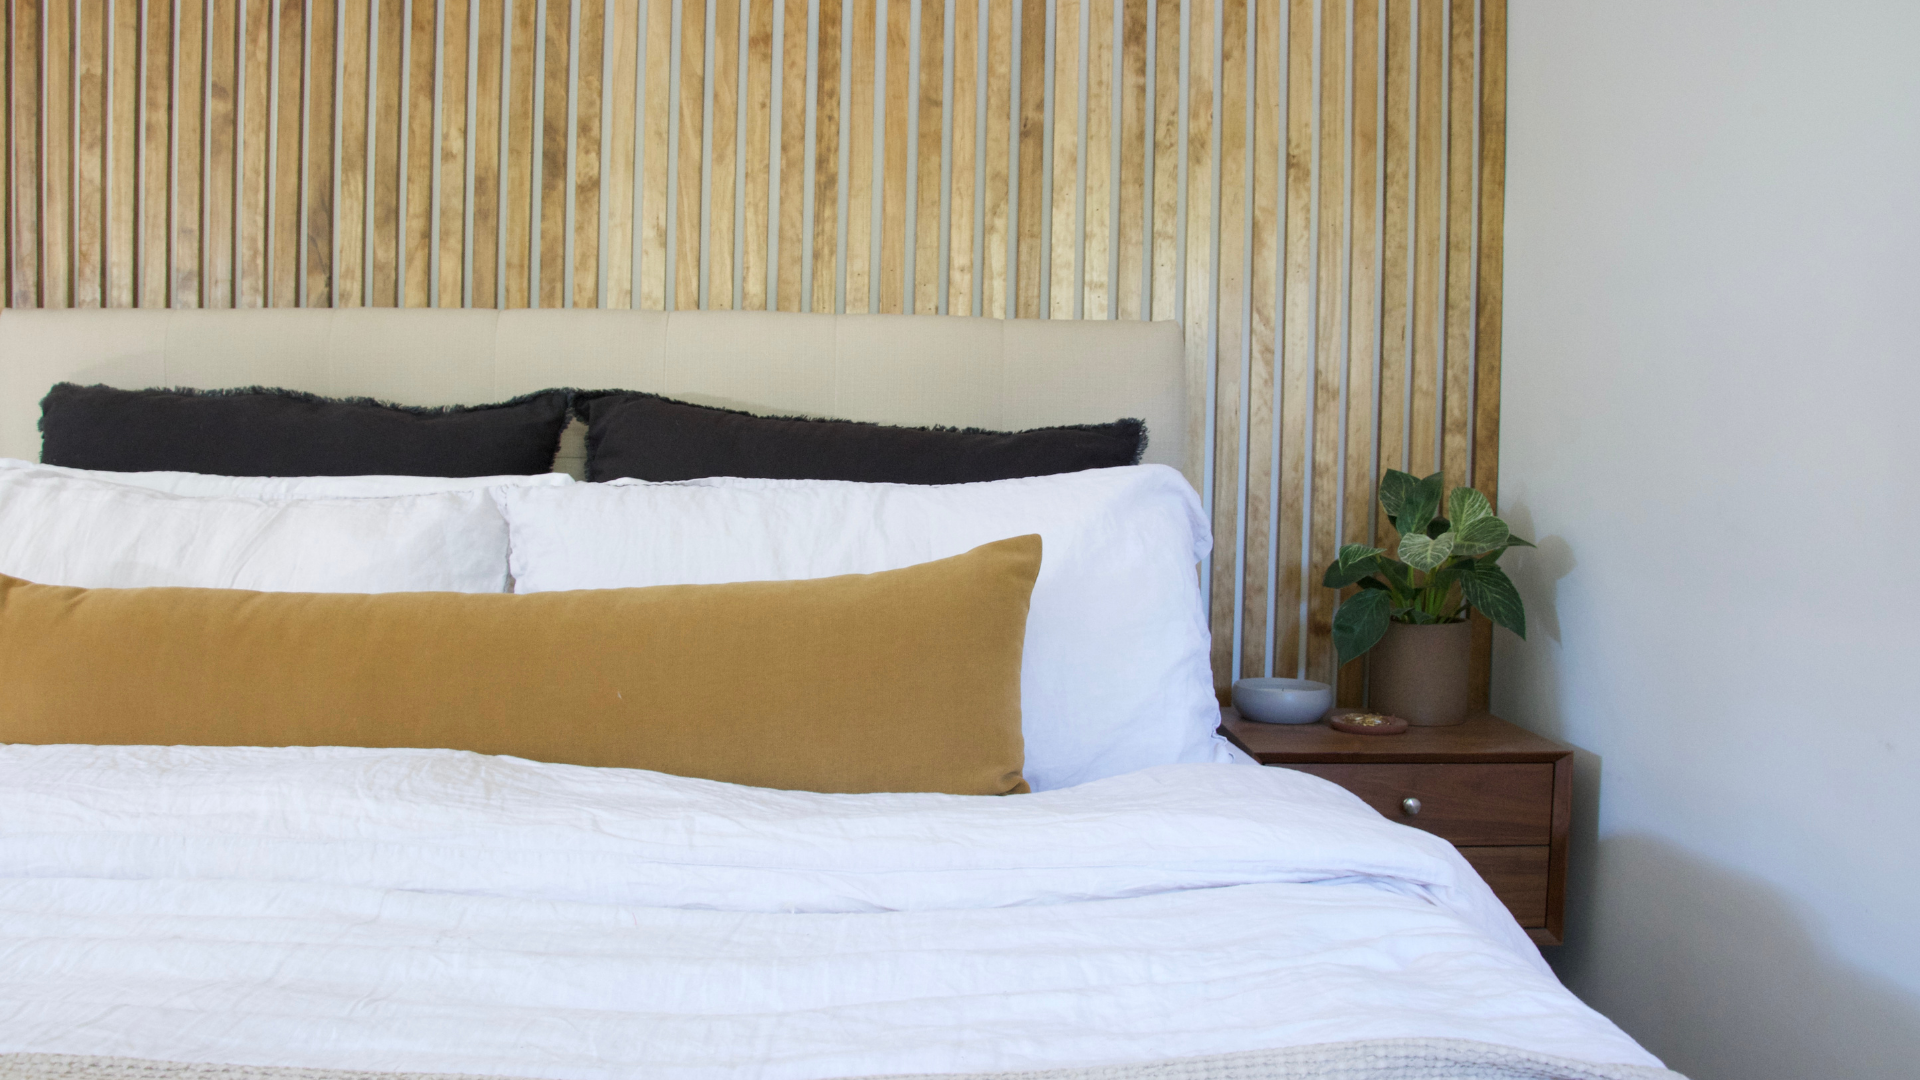
The finished project
I can't believe how good this turned out. Despite how much time we spend in our bedroom, it was a complete after thought when designing and buying for the house. We had every other room styled except for ours. The wood slats completely changed the space. And at night time, it looks even swankier. I think it would have turned out much more dramatic if we had painted the wall behind the slats. But you can't even tell when looking at it from an angle. We LOVE how it turned out.
The project in total cost: ~$363
- Stain: $9
- Wood Slats: $354
- We already had staining brushes, nails for the nail gun, a miter saw, and saw horses.
Before

After


Commissions: We may receive small commissions when you click the links in our posts and make qualifying purchases from Amazon or other online retailers. See our terms.